
Jodi asked for a tutorial for these cushions. Hope it all makes sense, Jodi.
1. Start off with a quilted rectangle. I had mine quilted, I'm not good at machine quilting, and I wanted these to look bespoke; professional not amateurville!
2. Cut off the extra wadding and bind each short side. You don't need to neaten the edges, they'll be included in the seam allowance soon.
3. Then fold the quilt, to allow for a good tuck inside, to fit in the cushion insert. And sew along the side seams.
4. That's it - turn your cushion inside out, and measure it up to get the size of your cushion insert.
5. Stuff your cushion insert and tuck it inside your cushion, tucking it under one of the flaps.
 |
| Here's my quilted rectangle. |
1. Start off with a quilted rectangle. I had mine quilted, I'm not good at machine quilting, and I wanted these to look bespoke; professional not amateurville!
2. Cut off the extra wadding and bind each short side. You don't need to neaten the edges, they'll be included in the seam allowance soon.
3. Then fold the quilt, to allow for a good tuck inside, to fit in the cushion insert. And sew along the side seams.
4. That's it - turn your cushion inside out, and measure it up to get the size of your cushion insert.
5. Stuff your cushion insert and tuck it inside your cushion, tucking it under one of the flaps.
 |
2. Bind each short side. I sewed it on the wrong side, then flipped, tucked the binding under and sewed again on the right side. |
 |
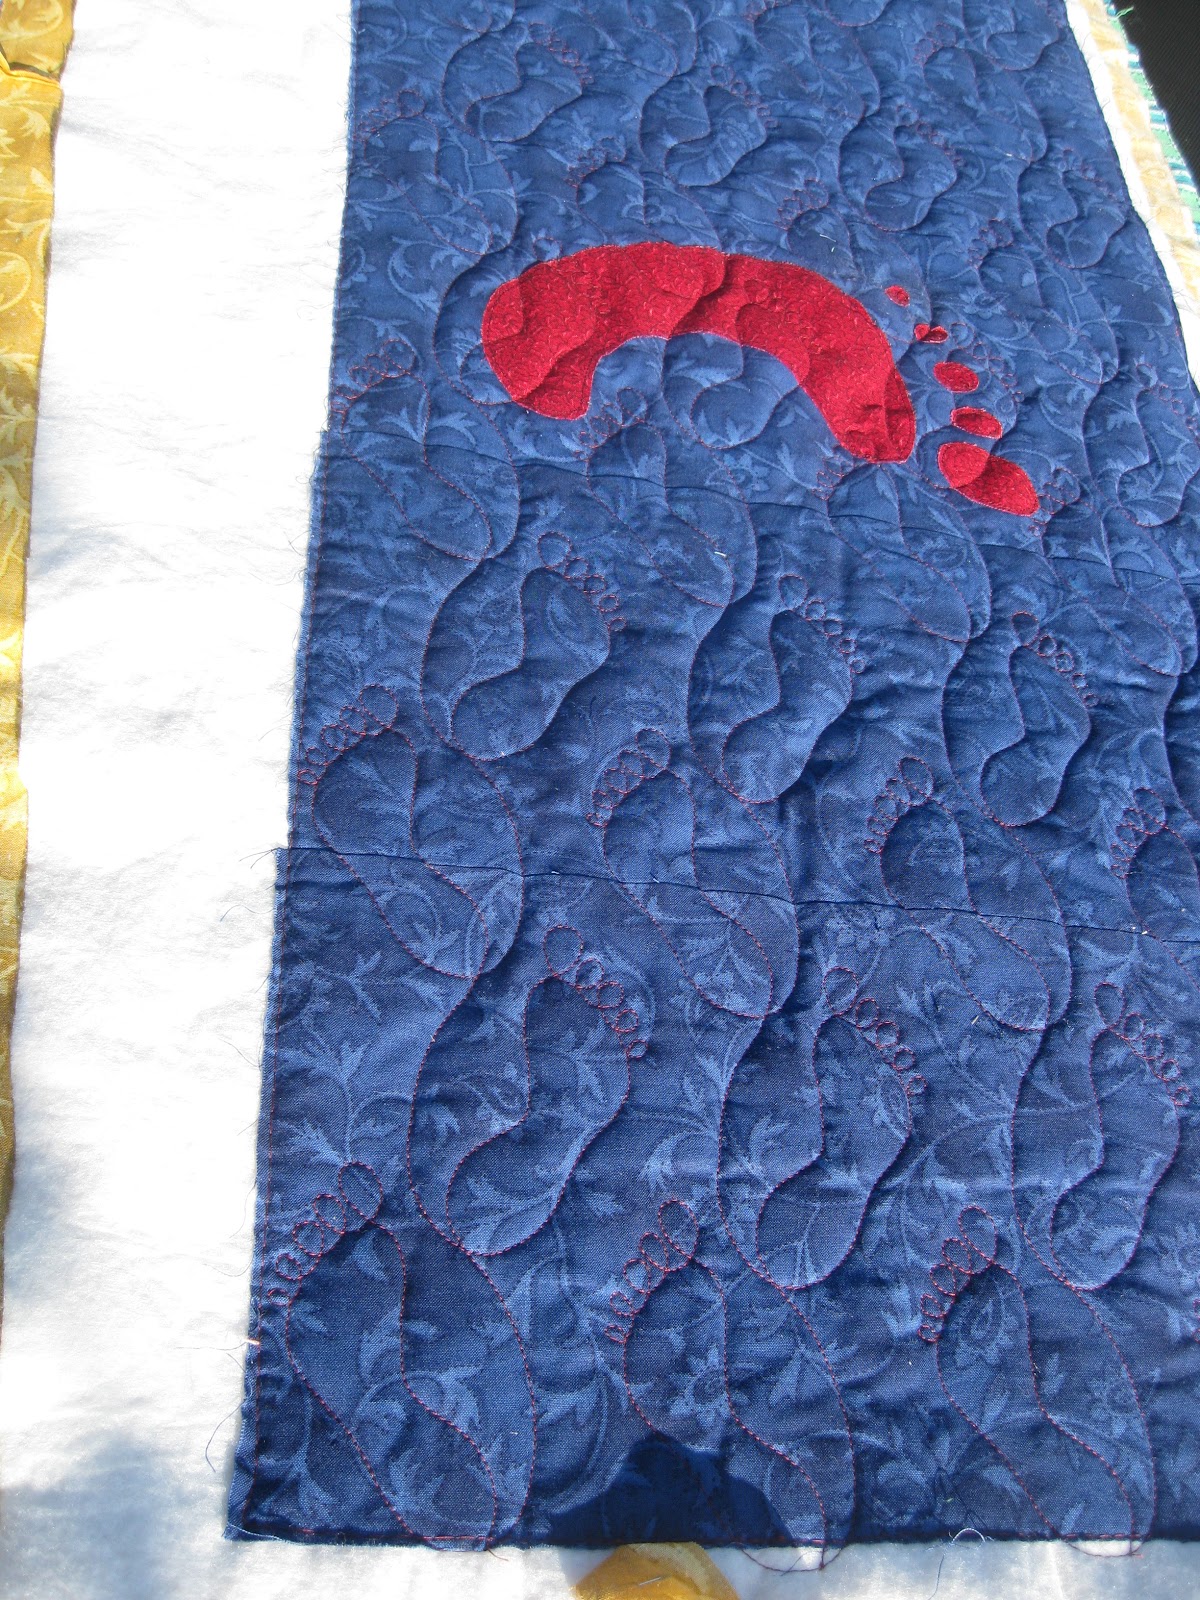
Close up of another rectangle. See the quilted feet all over it?  |
Looks great, Liz! Thanks so much! A neighbor asked me to help her make some so this is the tute we're going to use! Yippee!
ReplyDelete